Assembling IKEA furniture can be a daunting task. Though the instructions may seem simple at first glance, many people find themselves overwhelmed with frustration when faced with an array of screws, bolts, and dowels. But don’t despair! With some patience and careful attention to detail, you can assemble your IKEA furniture like a pro. Here are some helpful tips on how to do it.
Hiring someone to assemble IKEA furniture can be a great way to save time and ensure that the job is done correctly. It’s important to find someone who has experience in assembling IKEA furniture, as this will help ensure that your furniture is put together properly and without any issues, and such workers can be found at studiwork.com
If you would still like to do it yourself, here are some steps you can take.
1. Gather Your Supplies

Source: thumbtack.com
Before you even try to assemble your IKEA furniture, make sure you have all the supplies you need. The most important is the instruction sheet that was included in the packaging. This will serve as your guide throughout the assembly process. Next, make sure that you have all of the pieces and parts for the item – screws, bolts, dowels, and other hardware should be accounted for before you begin assembly.
It is also helpful to gather any tools that might be needed such as a Phillips head screwdriver or hammer depending on what type of fastener was included. Set up a clean workspace with plenty of light so that you can clearly see what needs to be done as every step of assembly can vary in complexity.
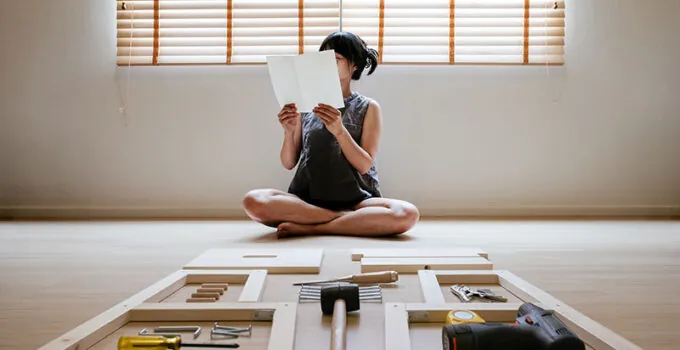
2. Reading and Understanding Instructions

Source: bobvila.com
Take your time reading through each step of the instructions thoroughly before attempting any action – this will help reduce any confusion throughout the process of assembly. Pay special attention to which direction certain pieces should face, or whether pieces should snap together rather than being tightened down with a tool (if neither is specified in the instructions).
Take notes if needed so that you can look back at them while assembling if something isn’t clear or looks confusing once you’ve begun putting it together. Utilize diagrams wherever possible as these are usually more accurate representations of how things should fit together from an engineering standpoint than pictures alone since they often capture angles not seen in pictures easily taken with a smartphone camera for reference during assembly if need be.
3. Patience Is Key

Source: independent.co.uk
Once all material components are properly laid out and double-checked against the instructions, take your time assembling each section one piece at a time before moving on to another area. Go slowly and let gravity do some of the work for you; much like puzzle pieces need to fit what’s already been put together before more robust fastening begins (this may require un-clamping/re-clamping parts several times until everything is lined up correctly).
Don’t forget about those extra screws/bolts/dowels; they may seem insignificant but having them around will save time afterward as they are used in many places throughout an IKEA furniture’s frame structure or drawers system depending on what type it is – desks have fewer items but chests/dressers have lots more! If something doesn’t feel right while pressing two parts together – STOP & re-check before proceeding further into construction mode otherwise problems will arise later down line – trust me…I speak from experience here 😉
Finally, once all pieces have been properly fitted together there’s nothing left but to give it one last look over before tightening down nuts & bolts with proper torque values (loose enough not binding but tight enough not wiggling) – keep track which ones were used where & save them for future reference/maintenance needs when necessary (you won’t remember forever!). Now stand back and admire your work – congrats – job well done!
Above all else remember – Patience + Focus = Successful IKEA Furniture Assembly!


