Being a homeowner is great, you don’t answer to anyone, you don’t have to pay rent. But, with great power comes great responsibility. Things get broken and you cannot just call the landlord to get things replaced or fixed. Because of this, you need to know your way around some of the things that get broken around the house.
When something in the bathroom gets broken it not only wastes water, but it can also damage other things and the more you wait to get it fixed, the more money you are going to spend in the long run.
Do you know how much water it gets wasted when your toilet leaks? The statistic shows that a leaky toilet can waste about 200 gallons of water per day. That adds up to 6000 gallons per month! That means you’d get at least $70 extra to your water bill every month just because your toilet is broken.
In this article, we are going to give you some tips on how to fix your toilet easy and quick so you can save some money.

source:dummies.com
What Do You Need?
To fix a running toilet, you won’t need too many things. Depending on where the leak comes from, you may need some of the following:
Tools
- Drill/driver – cordless
- Hammer drill
- Locking pliers
- Hacksaw
- Slip-joint pliers
Materials
- Silicone caulk
- Wax ring
- Two sets of 5/16-in. diameter water closet bolts
- Toilet shims
- Ballcock assembly
- Flapper
The time you need to fix a broken toilet is half a day to a day, depending on what you need to fix.
How to fix the toilet?
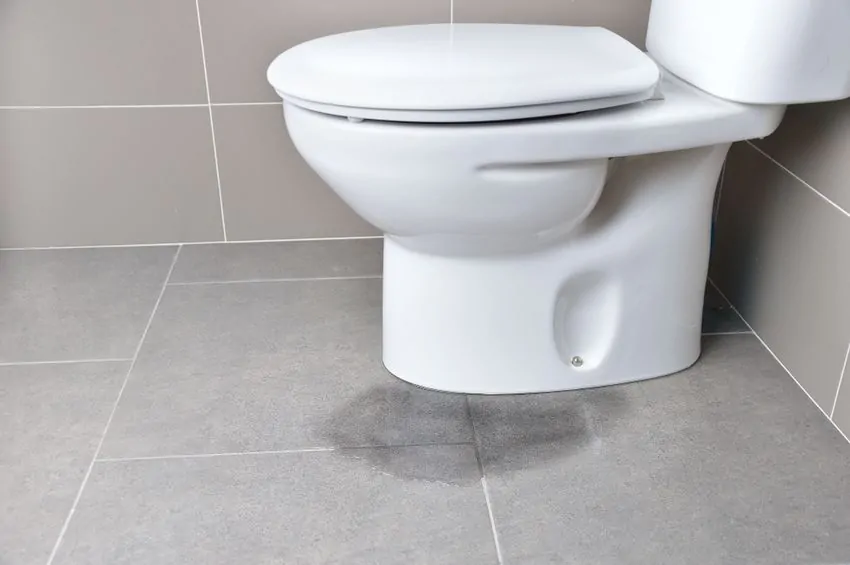
The most common issue with leaky toilets is a leaky toilet base. Water at the base of the toilet can be a result of several issues. Here is how to identify and take care of those problems.

source:familyhandyman.com
Identify and fix the leak
The first thing you need to do is to check for loose tee bolts. They are the plastic-covered bolts that are located at the base of the toilet. Faulty tee bolts can break the internal wax seal and cause leaks.
Make sure that the toilet is positioned correctly and see if the wax seal is damaged. If the tee bolts are frozen or spin freely you will need to replace them.
Replacing a Damaged Wax Ring
If you checked the tee bolts and they seem to be okay, but you are still experiencing leakage, the wax ring is probably damaged. This is a simple thing to do, but it will require you to remove the toilet from the floor.
However, if you are not sure how to deal with this issue, it’s better to call a professional. You have to assess if fixing the toilet is smarter than investing in a new one. Instead of dealing with leakage, you can install one of these toilets. Check this review and see if it’s a better decision to get a new toilet instead of fixing the old one.
If you want to try your luck and fix the toilet, here is how to do it.
- Purchase a new wax ring – they come in different varieties. If you are not sure which one to get, ask the hardware store employee.
- Remove the toilet – shut the water off and flush the toilet to drain the water from the tank and the bowl. Unscrew the nut that holds the fill valve in place. Remove the water supply line by loosening the nut that holds the line in place. Use an open-end wrench to loosen the tee bolts.
- Lift the toilet – and set it on the side. You may need to rock the toilet to break the seal. Inspect the tee bolts and purchase a new set if they are rusty or corroded.
- Remove the old wax ring – scrape the old ring away and make sure to remove any stuck-on wax. Don’t forget to clear out the keyed slots for the tee bolts in the flange.
- Install the new wax ring – place it over the flange and slide the tee bolts into the keys on the side of the flange.
- Replace the toilet – lift it up and align the holes on the side of the toilet with the tee bolts. Set the toilet down.
- Press – use your weight to press the toilet into the wax ring. This should be done to create a watertight seal.
- Secure the toilet – place the nuts and the washers back on the tee bolts and tighten them. Make sure that the bolts are not too tight because it can lead to cracked porcelain.
- Reconnect the water line – reconnect the water line and turn the water supply valve on.
- Test the toilet – wait for the tank to fill and flush the toilet once. Watch for leaks.
How to prevent condensation?

source:familyhandyman.com
Heavy condensation can result in standing moisture around the base of the toilet. This can lead to serious issues and damage to the toilet. Here is what to do to address condensation.
- Change bathroom habits – take shorter and cooler showers. Always leave the fans on and bathroom doors open. This way you will eliminate condensation.
- Install a tray – this is an affordable way to keep the water off your floor. It is not a permanent solution, but it will give you time till you find a suitable fix.
- Check the flapper – a faulty flapper will allow a constant stream of cool water to flow into your tank. The lower temperatures can cause a buildup of condensation. Check the flapper to ensure that it’s creating a proper seal.
- Insulate the tank – this way the water will keep the water warmer and it will reduce the risk of condensation. This is a tricky DIY job, so it is best to call a professional.
source:familyhandyman.com
Taking care of a leaking toilet can be the easiest thing ever or you can make huge additional damage. Before you take on this DIY project, make sure you have all the tools and materials needed.
Just in case, have the number of an emergency plumber saved on your phone in case you don’t know how to finish the job on your own. Assess if it’s better to fix the toilet or purchase a new one. And remember, it’s better to ask for help than to risk spending more time and money.


